After installing and activating AST PRO, configure it under WooCommerce → Shipment Tracking → Settings. The plugin is available at zorem.com.
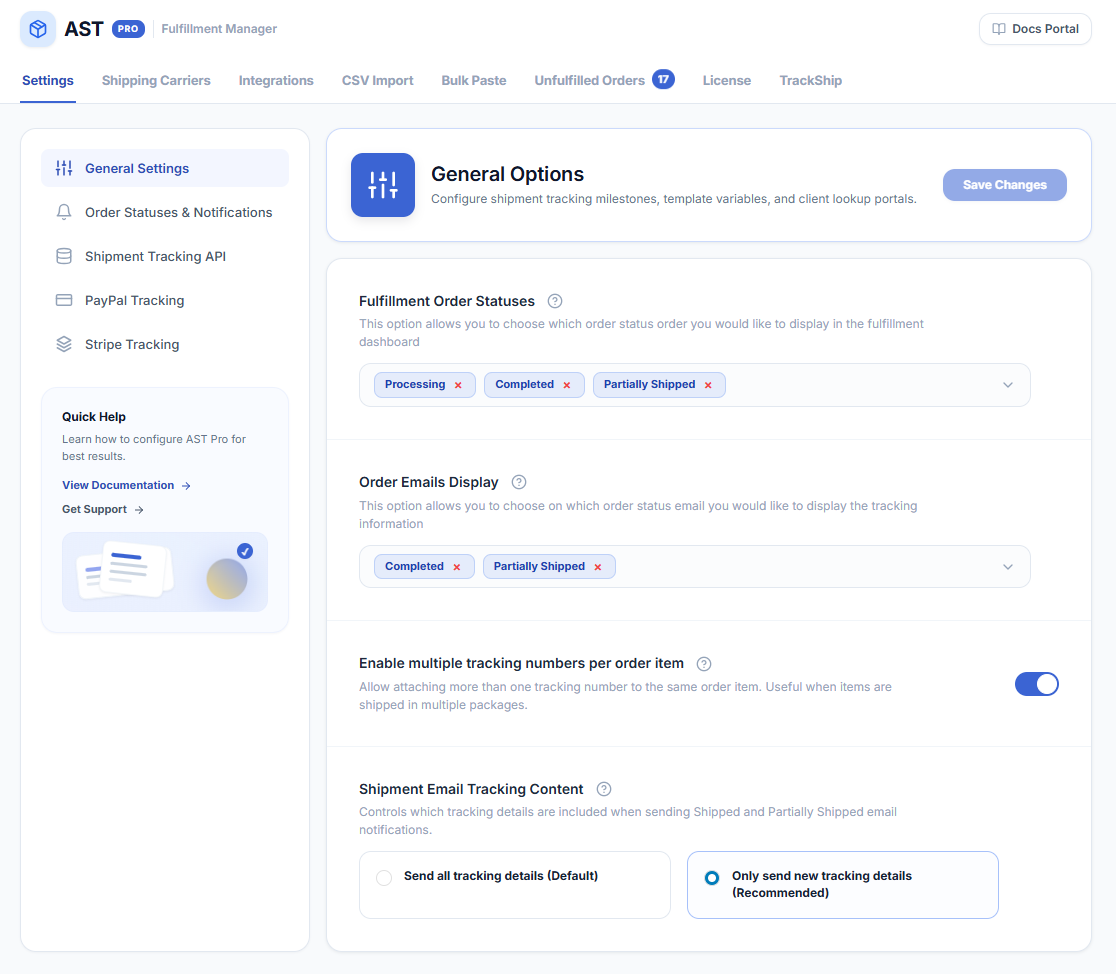
Recommended setup order
Work through the panels in this order for a complete first-time setup:
- 1General Settings (required) — set which order statuses appear in the Fulfillment Dashboard and which emails include tracking details
- 2Order Statuses & Notifications (required) — configure the Shipped and Partially Shipped statuses and control when customers are notified
- 3Customize Email Notifications & Tracking Widget (recommended) — brand your shipped email and tracking widget with your store’s logo and colors
- 4PayPal Tracking (optional) — sync tracking to PayPal to release funds faster and reduce disputes
- 5Stripe Tracking (optional) — sync tracking numbers to Stripe transactions
- 6Shipment Tracking API Settings (optional) — enable the REST API if you integrate with external systems or shipping software
Troubleshooting: Shipment Tracking menu not appearing
If WooCommerce → Shipment Tracking does not appear in your admin menu, check the following:
- Plugin not active — go to Plugins → Installed Plugins and confirm AST PRO shows as Active. If it shows as inactive, click Activate.
- Free AST plugin still active — AST PRO deactivates the free version on install, but if both are active simultaneously the menu may conflict. Deactivate the free Advanced Shipment Tracking plugin and keep only AST PRO active.
- Insufficient user permissions — the menu requires the
manage_woocommercecapability. Shop Manager and Administrator roles have this by default. If you are using a custom role, ask a site administrator to grant that capability. - Caching issue — after activation, clear your browser cache and any server-side object cache, then reload the admin.