When you first install AST PRO, no shipping carriers are enabled. You need to enable at least one carrier before you can add tracking numbers to orders. Go to WooCommerce → Shipment Tracking → Shipping Carriers.
How to enable shipping carriers
- 1Go to WooCommerce → Shipment Tracking → Shipping Carriers.
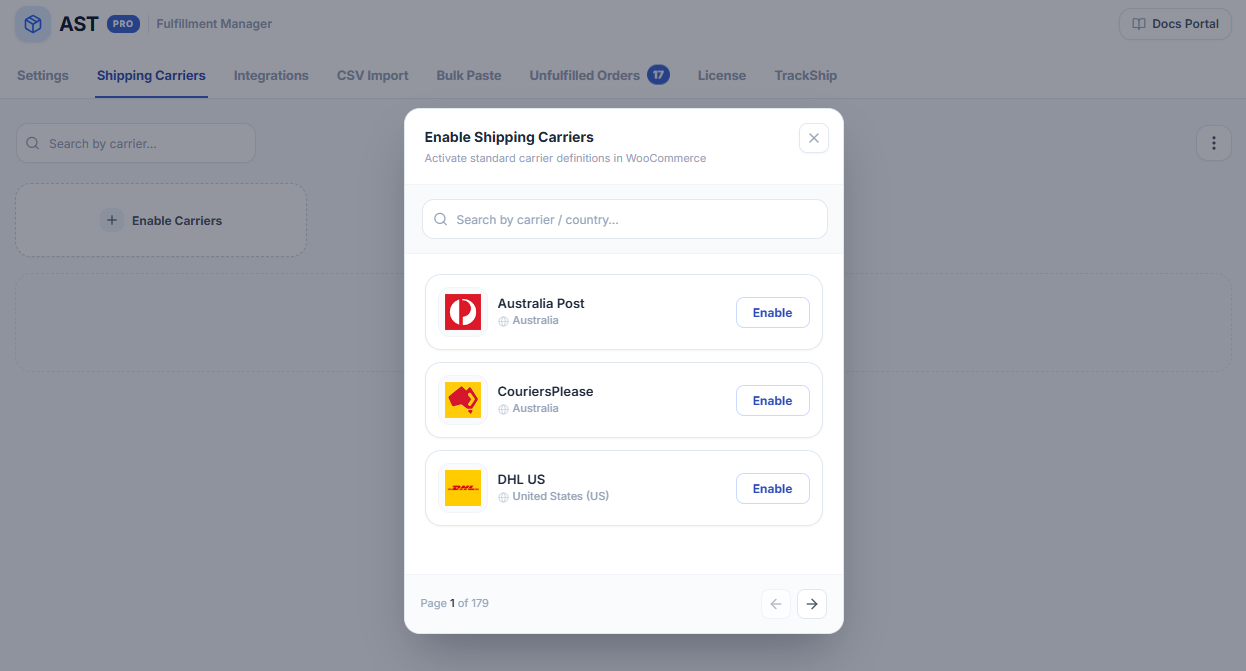
- 2Click the Enable Carriers button in the top-right corner of the screen.
- 3A sidebar opens showing the full list of available carriers.
- 4Search by name or scroll to find the carriers you use.
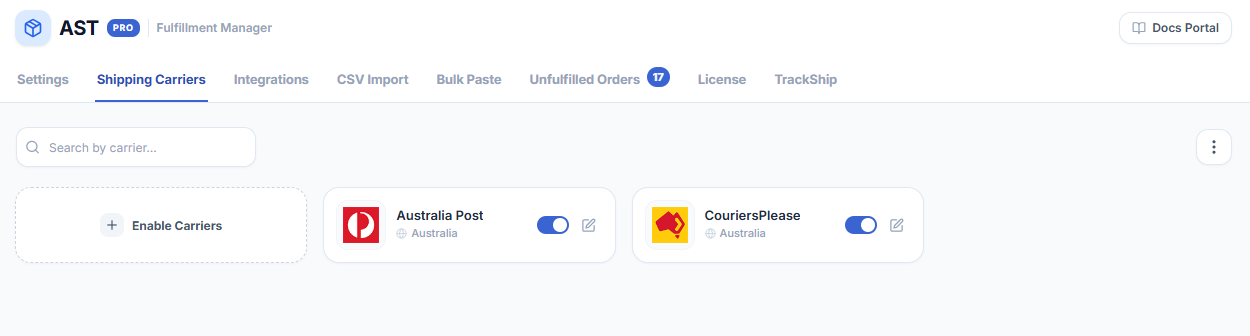
- 5Click Add next to each carrier to enable it. It moves immediately to your active carrier list.
Notes
- You can enable as many carriers as you need.
- Only enabled carriers appear in the carrier dropdown when adding tracking numbers to orders.
- You can return to this panel at any time to add or remove carriers.
Troubleshooting
- Carrier list is empty — if the Enable Carriers sidebar shows no carriers, sync the list by going to WooCommerce → Shipment Tracking → Shipping Carriers and clicking Sync Carriers. This pulls the latest carrier data from TrackShip.
- Carrier not in the list — if you can’t find your carrier after syncing, you can add a custom carrier with your own tracking URL.
- Enabled carrier not appearing in the order dropdown — confirm the carrier was added (it should be visible in the active carriers table, not just the sidebar). If it still doesn’t appear, clear any object cache and reload the order screen.