Keeping your shipping carrier list updated ensures accurate tracking info, carrier logos, and tracking URLs. The Sync Shipping Carriers tool lets you update your built-in carrier list to reflect the latest data from AST’s carrier database.
🔧 How to Sync Shipping Carriers
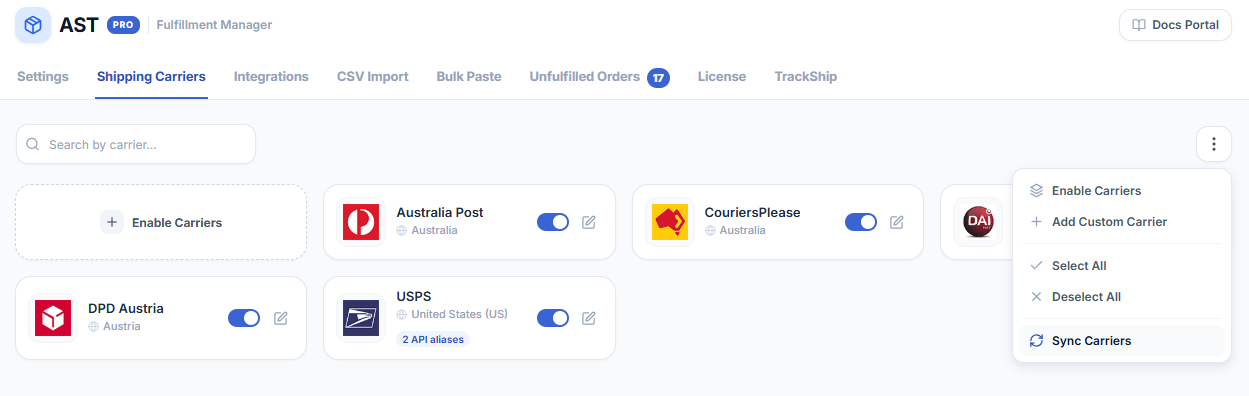
- Go to WooCommerce > Shipment Tracking > Shipping Carriers
- Click the three-dot menu in the top-right corner
- Select “Sync Carriers” from the dropdown
- A sidebar will appear titled “Sync Shipping Carriers”
- Click “Sync Shipping Carriers” button to update your list
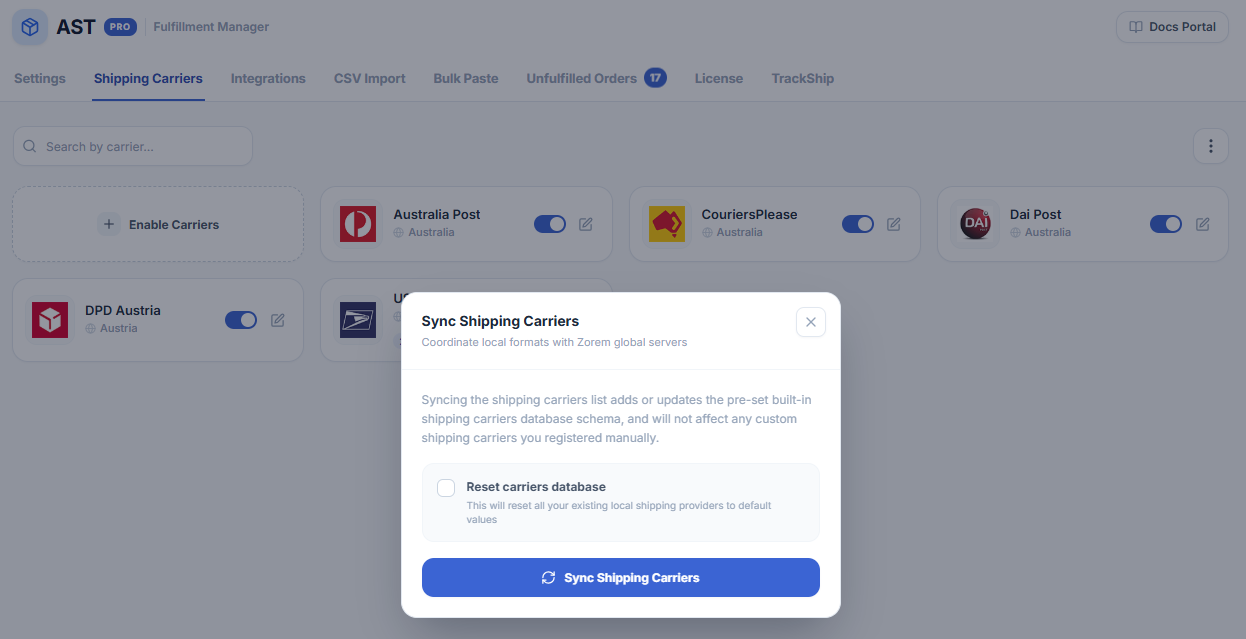

🔁 Optional: Reset Carriers Database
Before clicking the sync button, you can choose to enable the “Reset carriers database” checkbox.
| Option | Description |
|---|---|
| Unchecked (default) | Syncs only the built-in carriers, updating tracking URLs, names, and logos. |
| Checked | Completely resets your carrier database—including removing all enabled and custom carriers. Use this if you want to start fresh with the default AST carrier list. |
⚠️ Important Notes
- Custom carriers will be deleted if the Reset option is selected
- Use the reset option only if necessary, as it clears all enabled and added carriers
- You can always re-add or re-enable carriers after syncing