The Shipment Tracking API Settings panel controls how AST PRO handles tracking data added via the Shipment Tracking REST API and CSV Import. Go to WooCommerce → Shipment Tracking → Settings → Shipment Tracking API.
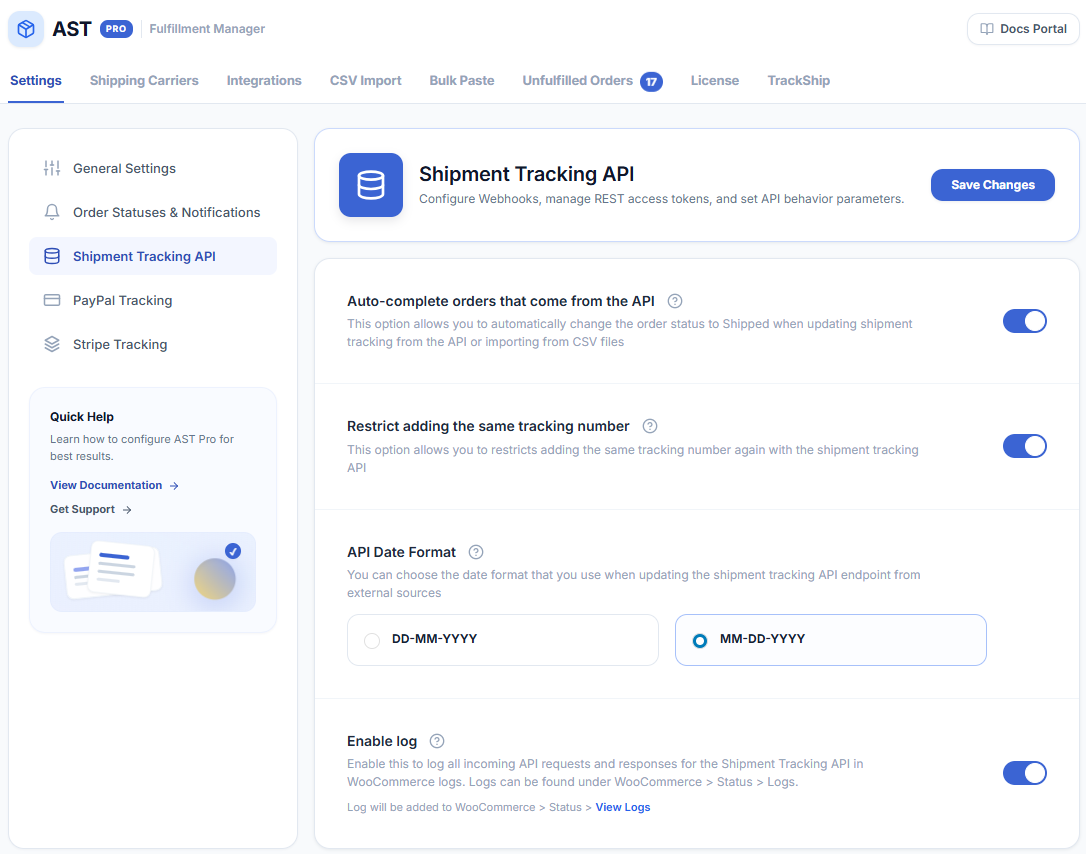
Auto-complete orders that come from the API
When enabled, AST PRO automatically moves an order to your configured completion status — Shipped or Completed, whichever is active — as soon as tracking is added via the REST API or CSV import. This saves the manual step of updating the status after bulk imports.
If you use Tracking Per Item (item-level tracking), the order status only updates after every item in the order has a tracking number assigned — not after the first one.
Restrict adding the same tracking number
When enabled, AST PRO rejects any attempt to add a tracking number that already exists on the same order — whether via API, CSV, or the order screen. This is a per-order check, not store-wide: the same tracking number can appear on different orders.
When the API rejects a duplicate, it returns an error response identifying the tracking number as already present on that order. The order is not modified.
API Date Format
Sets the date format AST PRO expects in the date_shipped field of incoming API requests and CSV rows. Two formats are supported:
DD-MM-YYYY— day first (e.g. 24-09-2025). Default.MM-DD-YYYY— month first (e.g. 09-24-2025). Use this if your shipping software or carrier portal exports US-format dates.
If the date in a payload does not match the selected format, the date_shipped field is ignored and the current date is used instead. ISO 8601 (YYYY-MM-DD) is not supported — convert to one of the formats above before sending.
Enable Log
When enabled, AST PRO writes a log entry for every API request — including the payload received, the order updated, and any errors. Useful for debugging integrations with shipping software or third-party systems.
To find the log: go to WooCommerce → Status → Logs, then filter by source ast-pro-api in the filename dropdown. Each log file is named by date.
Save changes
Click Save changes at the bottom of the panel. Changes apply to the next API request or CSV import — already-processed imports are not affected.
Next: PayPal Tracking