This guide walks you through integrating the Swiss Post: Barcodes, Address Checker & Auto-Complete plugin with Advanced Shipment Tracking (AST) PRO, enabling you to automate tracking updates and streamline order fulfillment in your WooCommerce store.
🔄 How the Swiss Post Integration Works
The integration requires the Swiss Post: Barcodes, Address Checker & Auto-Complete plugin to be installed and active. When you use the Swiss Post plugin to fulfill an order in WooCommerce:
- You generate a barcode delivery slip directly from the order page
- The plugin creates a tracking code and sends it to WooCommerce via the Shipment Tracking API
- The order status is updated to Completed
This tracking data is only passed through the WooCommerce Shipment Tracking API, and not directly saved to AST’s tracking fields. As a result, tracking details won’t appear in the shipping confirmation email or on the customer’s account page — unless AST PRO is enabled.
✅ What AST PRO Does
AST PRO enhances the Swiss Post integration by:
- Automatically detecting and capturing tracking data when the Swiss Post plugin sends it via the WooCommerce Shipment Tracking API
- Saving the tracking number and carrier to AST’s Shipment Tracking Order Meta
- (Optional) Updating the order status to Shipped
- Triggering the shipping confirmation email with the AST tracking widget
- Displaying tracking details on the My Account > View Order page
This removes the need to manually re-enter tracking details and ensures your customers stay informed.
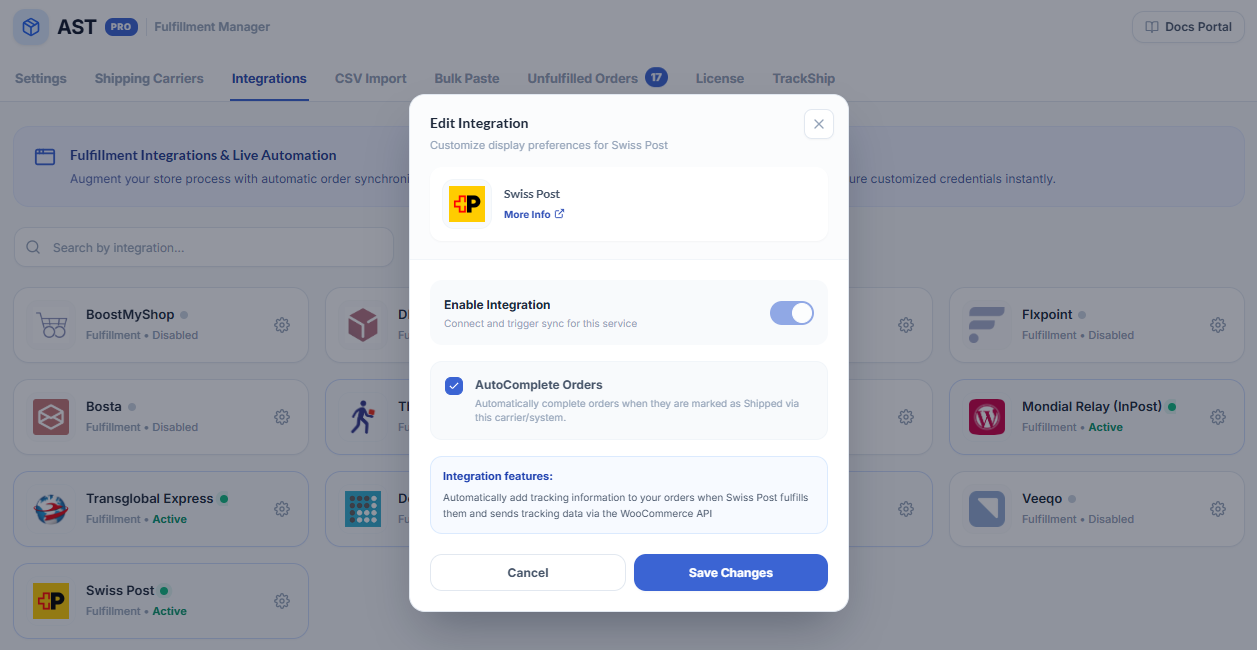
⚙️ How to Enable the Integration
- Install and activate the Swiss Post: Barcodes, Address Checker & Auto-Complete plugin
- Ensure AST PRO is installed and activated
- Go to WooCommerce > Shipment Tracking > Integrations
- Enable the Swiss Post integration
- (Optional) Enable Auto-complete shipped orders – AST will automatically update the order status to Shipped when tracking is added
🧩 Carrier Name Mapping (Avoid Missing Tracking Links)
The Swiss Post plugin may use shipping carrier names that differ from AST’s recognized list. If unmatched, the tracking link may not appear in the customer’s email.
How to Map Carrier Names:
- Go to WooCommerce > Shipment Tracking > Shipping Carriers
- Click Edit next to the relevant carrier
- In the Custom API Name field, enter the exact name used by the Swiss Post plugin
- Use the ➕ icon to add multiple name variations if needed
- Click Update to save
This ensures that AST properly identifies the carrier and includes a valid tracking link in emails and customer views.
💡 Best Practices
- Ensure both the Swiss Post plugin and AST PRO are installed and active
- Monitor order notes to ensure tracking data is properly formatted by the Swiss Post plugin
- Keep your carrier mappings updated to avoid broken or missing tracking links
- Test your workflow by generating a barcode delivery slip for a sample order to confirm tracking data appears correctly in AST
- Inform customers that they will receive a clear shipping email with tracking information