You can remove carriers from your active list when you stop using them or want to keep the tracking dropdown clean. Removing a carrier hides it from the order tracking dropdown — it does not affect orders that already have a tracking number assigned to that carrier. Existing tracking links on those orders remain intact and continue to work.
Method 1: Remove selected carriers
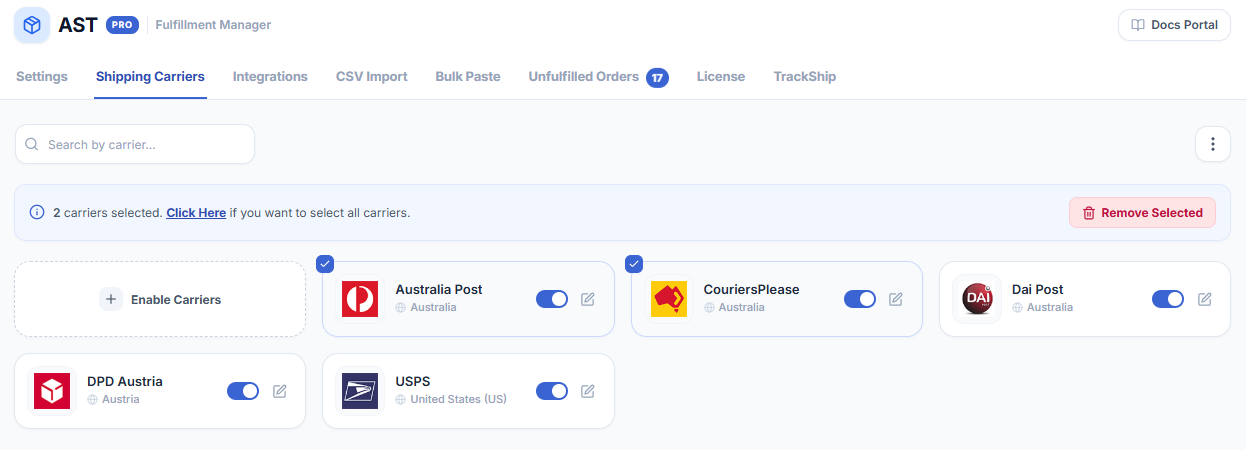
- 1Go to WooCommerce → Shipment Tracking → Shipping Carriers.
- 2Tick the checkbox next to each carrier you want to remove.
- 3A Remove Selected button appears at the top of the list.
- 4Click Remove Selected. A confirmation prompt appears — confirm to proceed.
Method 2: Remove all carriers at once
- 1Go to WooCommerce → Shipment Tracking → Shipping Carriers.
- 2Click the three-dot menu in the top-right corner.
- 3Select Select All from the dropdown. All active carriers are selected.
- 4Click Remove Selected and confirm.
Notes
- Built-in carriers can be re-added at any time via the Enable Carriers button.
- Custom carriers are permanently deleted when removed — they cannot be re-enabled. You would need to recreate them via Add Custom Carrier.
- Removed carriers no longer appear in the tracking dropdown when adding tracking numbers to new orders.
- Existing orders that already have a tracking number assigned to a removed carrier are not affected — their tracking links continue to work.