Turning on Smart Form is a single setting. Follow these steps to enable it and choose how it looks and behaves, then move on to placing it on your frontend.
- Go to WooCommerce → Email Verification → Settings → Signup Verification.
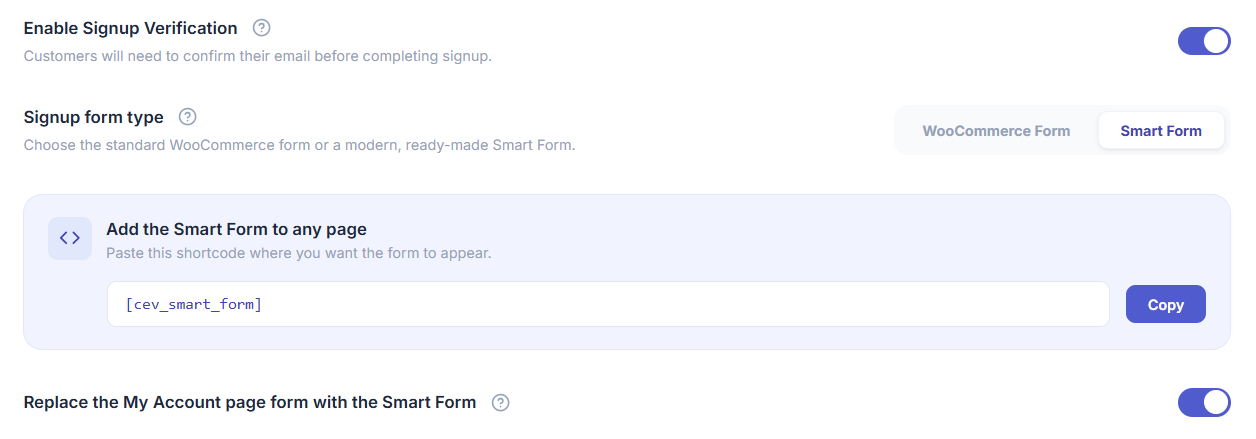
- Set Form type to Smart Form.
- Choose a Template (1–4) — see Smart Form templates for what each layout looks like.
- Choose a Registration verification method (Email or Phone) — see How to Configure Smart Form Registration & Login Methods?.
- Choose one or more Login methods (Password, Email OTP, Phone OTP) — you can enable any combination, and customers will be able to pick whichever is enabled.
- Click Save changes.
Your existing Email Verification settings (OTP length, expiry, resend limit, success messages, anti-spam rules) continue to apply to Smart Form — they are reused, not duplicated.
Next step
Turning Form type to Smart Form does not put anything on your site yet. Continue to How to place Smart Form on the frontend? to add the [cev_smart_form] shortcode to a page, or enable the My Account takeover toggle.
Troubleshooting
- Form type dropdown doesn’t show Smart Form — confirm your Customer Email Verification Pro license is active; Smart Form is a Pro-only feature and the option won’t appear on an inactive license.
- Settings page doesn’t reflect a saved change — hard-refresh the admin page (a cached page-builder or browser cache can show stale toggle states); confirm you clicked Save Changes and not just closed the section.