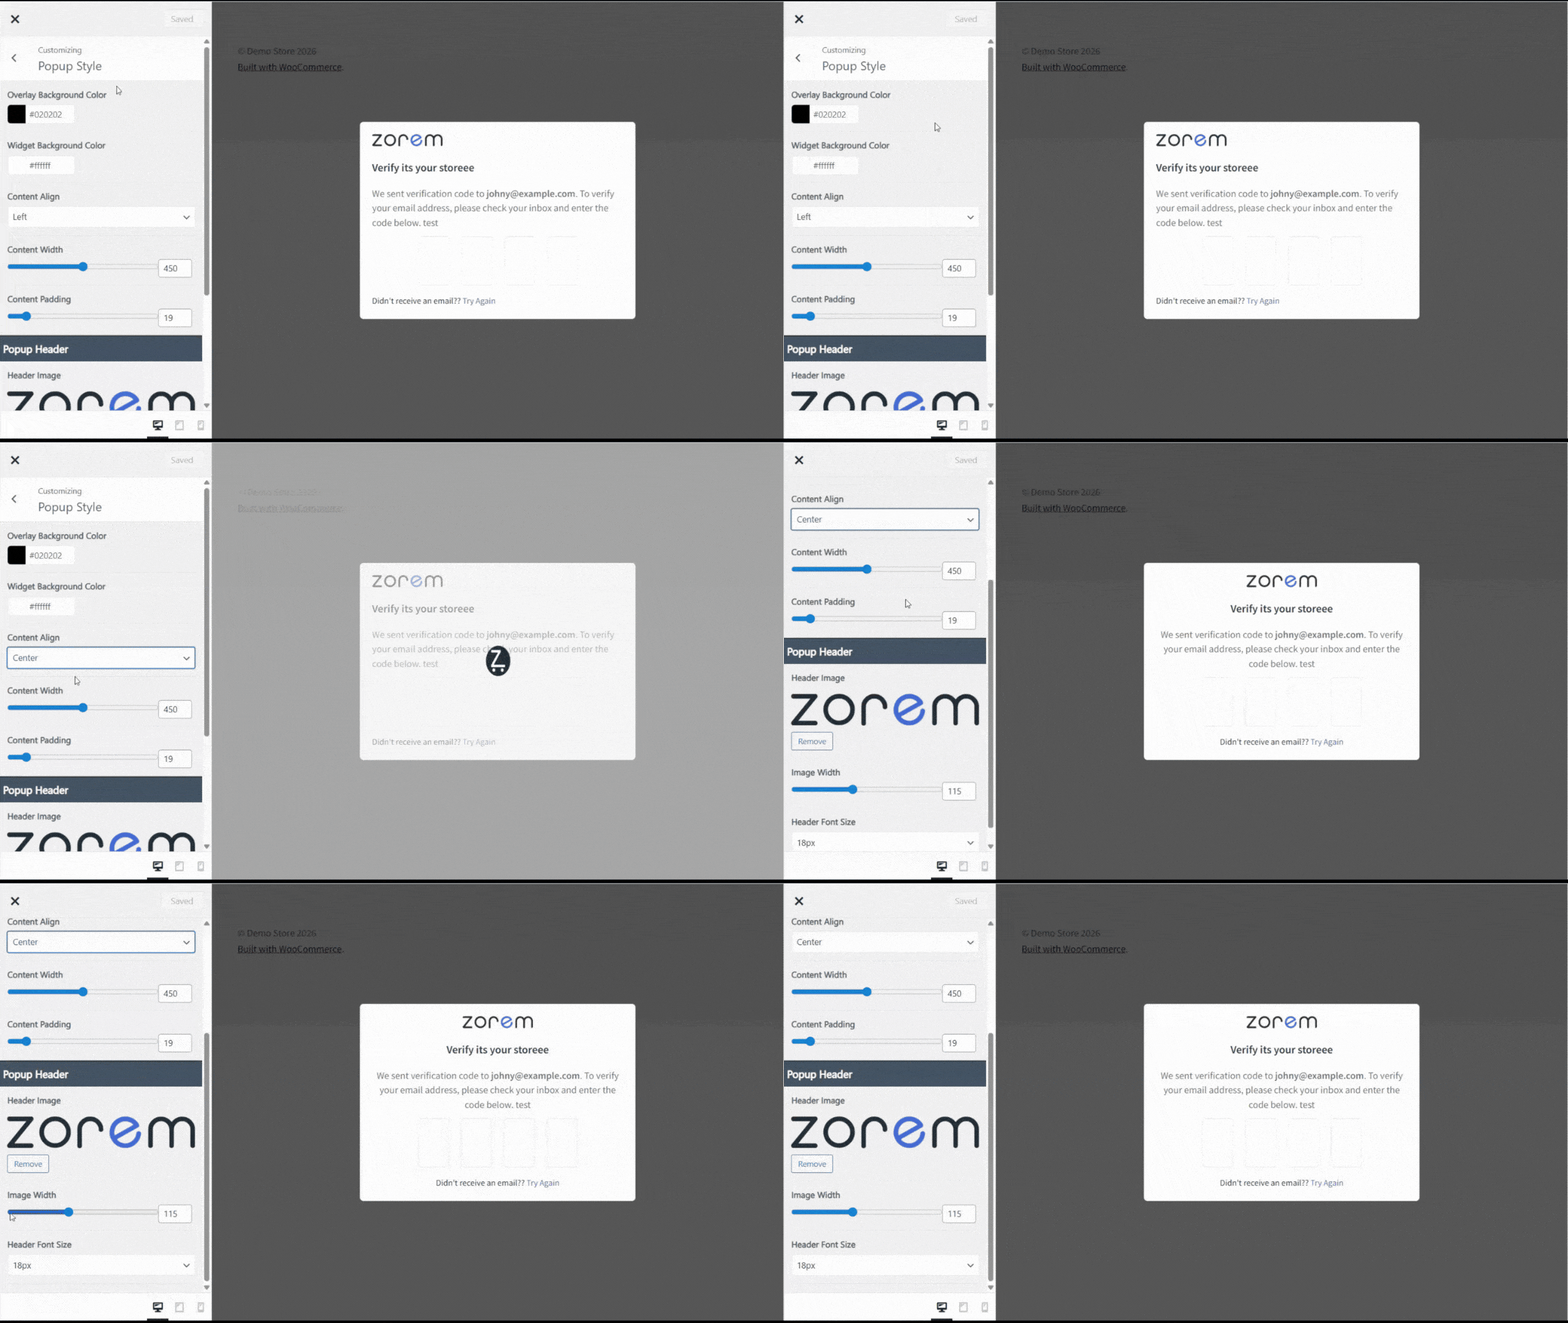
Once you’re in the Customizer (see Customization for how to get there), click Design → Popup Style to reach the settings on this page. Adjust the settings below, then click Publish to save your changes.
Overlay & Background Settings
| Setting | Description | Default |
|---|---|---|
| Overlay Background Color | Color of lightbox overlay behind popup | #ffffff |
| Widget Background Color | Background color of popup widget | #f5f5f5 |
The overlay is a solid, fully-opaque color — there’s currently no separate opacity/transparency control for it, so pick a color with enough contrast against your popup card rather than expecting a translucent dim effect.
Popup Layout Settings
| Setting | Description | Range | Default |
|---|---|---|---|
| Content Alignment | Align popup content | Center, Left | Center |
| Content Width | Width of popup widget | 300px – 600px | 440px |
| Content Padding | Internal spacing | 10px – 100px | 30px |
Popup Header Settings
| Setting | Description | Range | Default |
|---|---|---|---|
| Header Image | Upload logo or custom image | Media upload | Email icon |
| Image Width | Width of header image | 25px – 250px | 80px |
| Header Font Size | Size of header text | 10px – 30px | 18px |
Verification Button Settings
| Setting | Description | Default |
|---|---|---|
| Button Color | Background color of verify button | #2296f3 |
| Button Font Color | Text color of verify button | #ffffff |
| Button Font Size | Size of button text | 14px |
| Button Padding | Internal padding of button | 15px |
| Expand Button | Make button full-width | Disabled |
How to Customize the Popup Content?
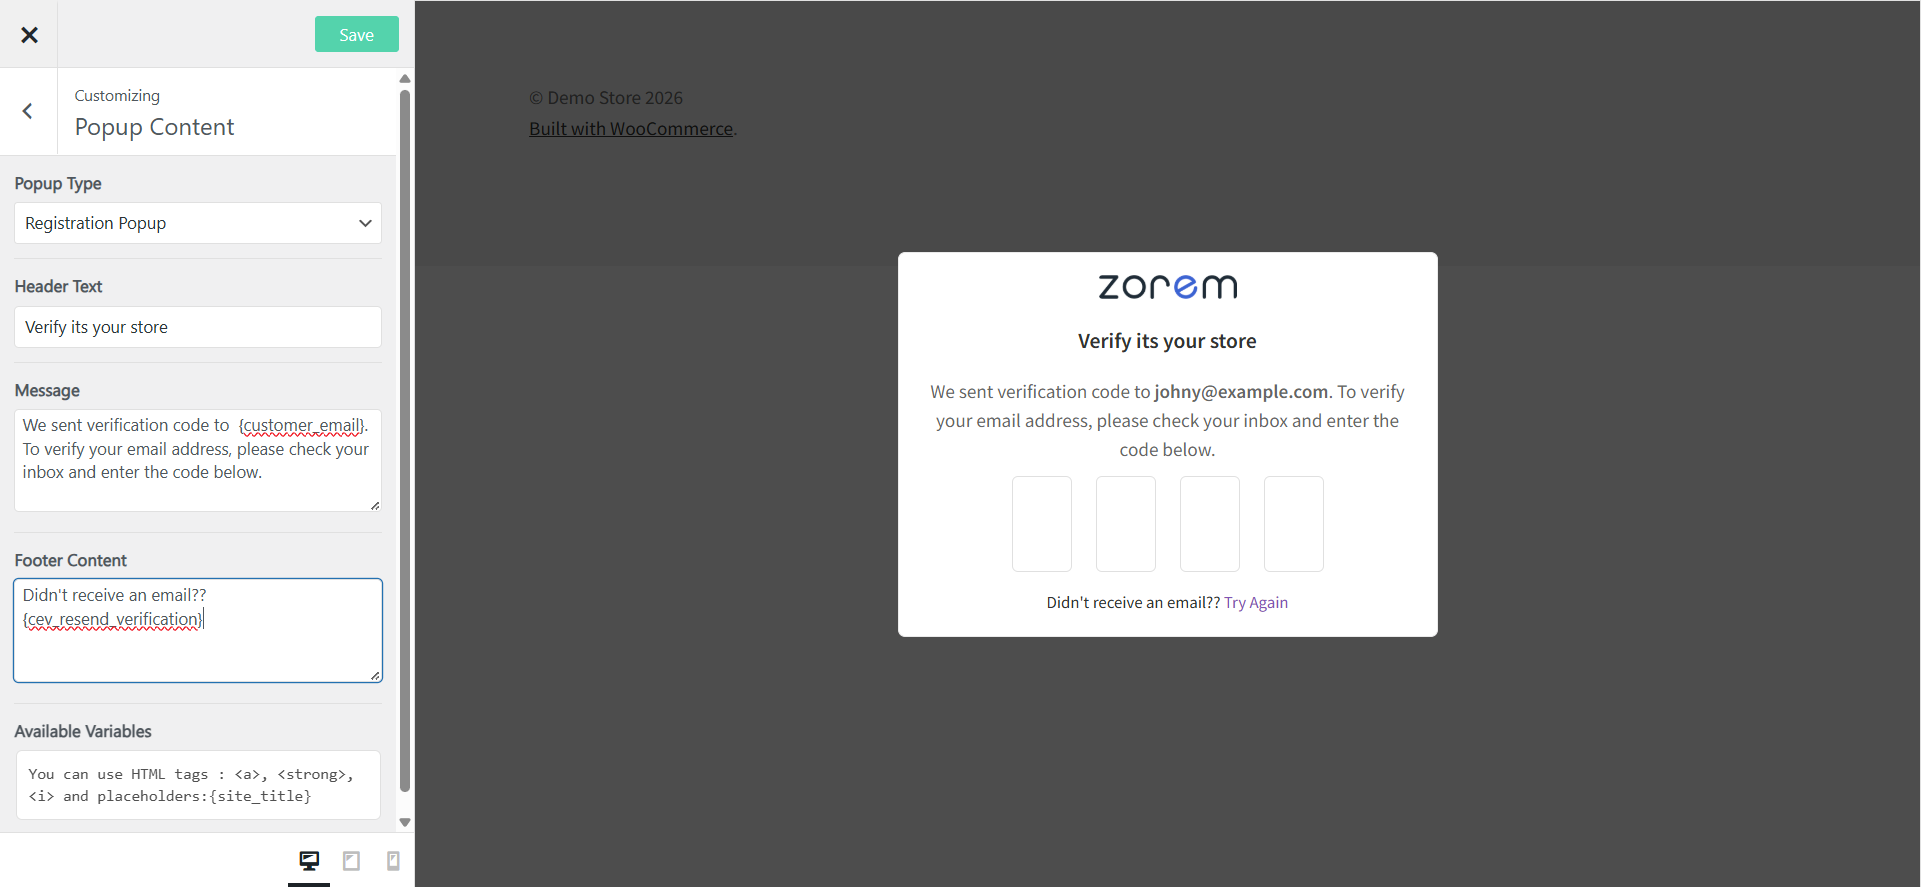
- In the customizer, click Popup Content.
- Select the Widget Type from the dropdown.
- Edit the content fields for your selected type.
- Click Publish to save changes.
Available Widget Types
| Widget Type | Description |
|---|---|
| Registration | Popup shown during account registration |
| Checkout Email Popup | Initial email entry popup at checkout |
| Checkout OTP Popup | OTP entry popup after code is sent |
| Login Authentication | Popup for suspicious login attempts — see Settings to enable this feature |
Checkout Email Popup and Checkout OTP Popup have no separate Button Text field — their button label isn’t customizable in this version, unlike Registration and Login Authentication.
How to Customize the Registration Popup Content?
- In the customizer, click Popup Content.
- Select Widget Type: Registration from the dropdown.
- Edit the following fields:
| Field | Description | Default Value |
|---|---|---|
| Header Text | Title at top of popup | “Verify it’s you.” |
| Verification Message | Main message body | “We sent verification code to {customer_email}. To verify your email address, please check your inbox and enter the code below.” |
| Footer Text | Text below form | “Didn’t receive an email? {cev_resend_verification}” |
| Button Text | Verify button text | “Verify Code” |
How to Customize the Checkout Email Popup Content?
- In the customizer, click Popup Content.
- Select Widget Type: Checkout Email Popup from the dropdown.
- Edit the following fields:
| Field | Description | Default Value |
|---|---|---|
| Header Text | Title at top of popup | “Verify it’s you.” |
| Verification Message | Main message body | “Please verify your email address to proceed to checkout.” |
| Footer Text | Text below form | “Already have an account? Login now” |
How to Customize the Checkout OTP Popup Content?
- In the customizer, click Popup Content.
- Select Widget Type: Checkout OTP Popup from the dropdown.
- Edit the following fields:
| Field | Description | Default Value |
|---|---|---|
| Header Text | Title at top of popup | “Verify it’s you.” |
| Verification Message | Main message body | “We sent verification code to {customer_email}. To verify your email address, please check your inbox and enter the code below.” |
| Footer Text | Text below form | “Didn’t receive an email? {cev_resend_verification}” |
How to Customize the Login Authentication Popup Content?
- In the customizer, click Popup Content.
- Select Widget Type: Login Authentication from the dropdown.
- Edit the following fields:
| Field | Description | Default Value |
|---|---|---|
| Header Text | Title at top of popup | “Verify it’s you.” |
| Verification Message | Main message body | “We sent verification code to {customer_email}. To verify your email address, please check your inbox and enter the code below.” |
| Footer Text | Text below form | “Didn’t receive an email? {cev_resend_verification}” |
| Button Text | Verify button text | “Verify Code” |
Popup Content Placeholders
| Placeholder | Description | Example |
|---|---|---|
| {customer_email} | Customer’s email address | [email protected] |
| {cev_resend_verification} | Clickable resend link | Resend Code |
Not every popup accepts every placeholder. {site_title} works everywhere; {customer_email} and {cev_resend_verification} are only available on some:
| Widget Type | Available placeholders |
|---|---|
| Registration | {site_title} only |
| Checkout Email Popup | {site_title} only |
| Checkout OTP Popup | {site_title}, {customer_email}, {cev_resend_verification} |
| Login Authentication | {site_title}, {customer_email}, {cev_resend_verification} |
Troubleshooting
- The popup doesn’t appear at all — confirm the matching feature is enabled first (e.g. Checkout Verification or Login Authentication in Settings) — the Customizer only changes the appearance of a popup that’s already active, it doesn’t turn one on.
- Colors or layout look different on the live site than in the preview — your theme’s own CSS may be more specific than the popup’s styles. Check your browser’s inspector for a conflicting rule and add a more specific override in your theme’s custom CSS if needed.
Related
- Customization — how to open the Customizer.
- How to Access Email Customization? — customize the verification emails, not the popups.