Install Returns for WooCommerce, activate your license, and create the Return Center page so customers can submit requests.
Requirements
- WordPress 6.2 or higher
- WooCommerce installed and active (tested to WooCommerce 11.1.1)
How to Install the Plugin
WordPress Admin → Plugins → Add New → Upload Plugin- Download the plugin .zip file — click the Download button in your order email or log in to zorem.com/my-account/ and download from your purchases.
- Go to Plugins → Add New — in your WordPress admin.
- Click Upload Plugin — at the top of the page.
- Click Choose File — select the downloaded .zip file.
- Click Install Now — then click Activate Plugin.
After activation, find the plugin settings under WooCommerce → Returns Center.
How to Activate the License
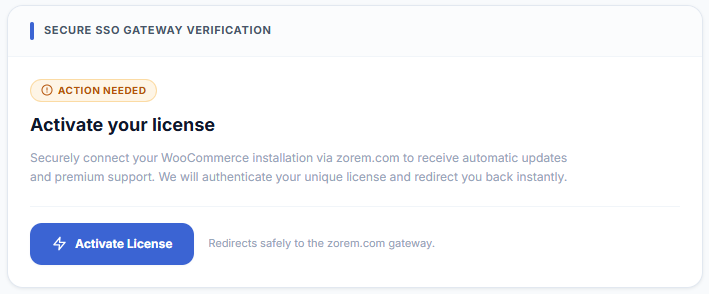
WooCommerce → Returns Center → License- Go to WooCommerce → Returns Center → License in your WordPress dashboard.
- Click Activate License — you are redirected to zorem.com to connect your store.
- On zorem.com — confirm the license activation for your store’s URL.
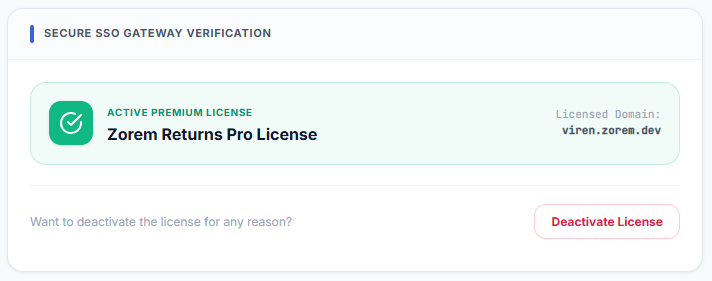
- You are redirected back to your store — the License tab shows the license as active.
How to Create the Return Center Page
Customers use the Return Center page to start a return without logging in (guest returns). Create this page once after installation.
WooCommerce → Returns Center → General Settings → Return Center Page- Go to WooCommerce → Returns Center → General Settings.
- Under Return Center Page — click Create Page (or select an existing page). The plugin adds the
[return-center]shortcode to the selected page automatically. - Save Changes.
INFO
Next Steps
- Setup & Configuration — configure your return window, allowed refund methods, and exchange settings.
- Email Notifications — review and customise the 14 built-in email templates.
- Customer View — see what customers experience when submitting a request.