The CSV Import feature allows you to bulk upload tracking information for orders in your WooCommerce store using a properly formatted .csv file. This is ideal when fulfilling multiple orders at once or when using third-party shipping systems to export tracking data.
🔧 Step-by-Step Import Process
1. Upload CSV File
To begin, go to:
WooCommerce > Shipment Tracking > CSV Import
Upload your file and configure import options:
- Upload a CSV file – Choose your
.csvfile from your local computer. - Choose the Shipped Date format – Select between the two supported formats:
- DD-MM-YYYY
- MM-DD-YYYY
- The selected date format must match the format used in your CSV file.
- Replace tracking information? – Check this box if you want to replace any existing tracking numbers for the order.

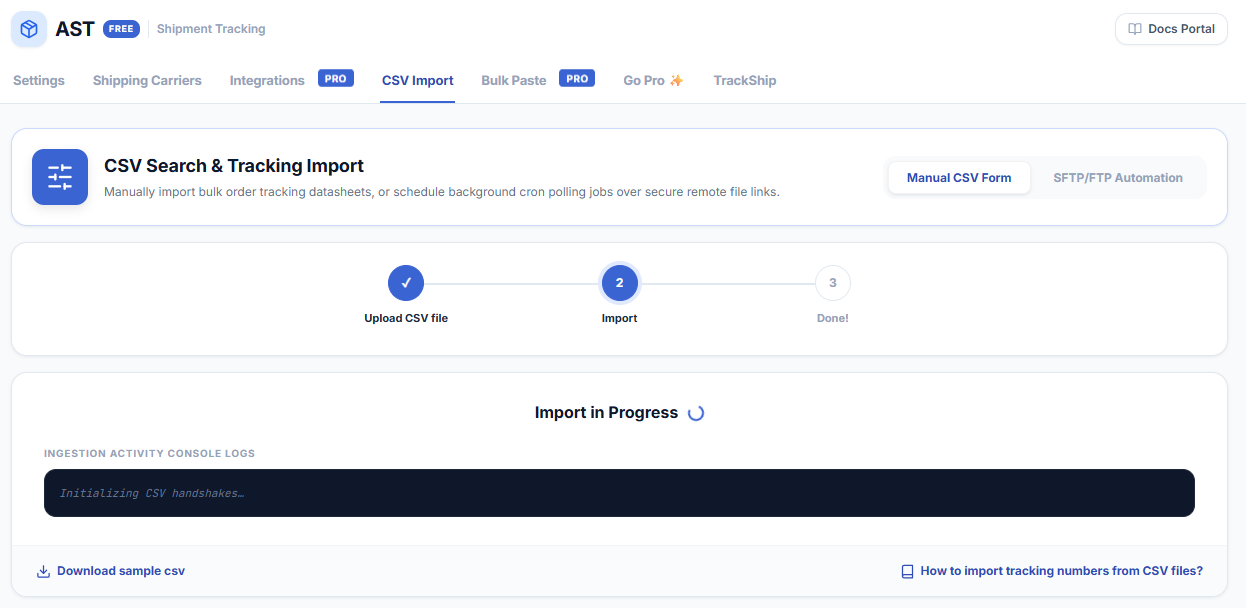
2. Import in Progress
Once you upload and continue, the import process begins and progress is shown live.
- ✅ Success entries will show the order ID and confirmation.
- ❌ Errors (e.g., invalid carrier or order ID) will also be listed.
3. Import Completed
After the process completes, you’ll see a summary of all successful and failed entries.

📂 Sample CSV Format
Here is the expected structure of the CSV file:
| order_id | tracking_provider | tracking_number | date_shipped | status_shipped |
|---|---|---|---|---|
| 1 | UPS | 1Z6E36W60390858267 | 12-06-2025 | 1 |
| 2 | USPS | 9200190244541430003 | 12-06-2025 | 1 |
📌 Date Format must be in either:
- DD-MM-YYYY
- MM-DD-YYYY
Make sure this matches the date format selected during the upload process.
| Field | Description |
|---|---|
order_id | ID of the WooCommerce order. |
tracking_provider | Name of the shipping carrier (must match your enabled carriers). |
tracking_number | Tracking code from your shipping carrier. |
date_shipped | Date when the item was shipped (match selected format: DD-MM-YYYY or MM-DD-YYYY). |
status_shipped | 0 = Do not change order status, 1 = Mark as Shipped, 2 = Partially Shipped. |