AST includes an Email Customizer for the shipping notifications your customers get when an order status changes — for example Partially Shipped, and Completed (or Shipped, if you renamed it). In the same screen you customize the Tracking Info Widget, the block of tracking details that appears in those emails and on the customer’s My Account order page.
Everything here is per order status, so the Partially Shipped email can look and read differently from the Completed one.
Opening the Email Customizer
- Go to WooCommerce > Shipment Tracking > Settings.
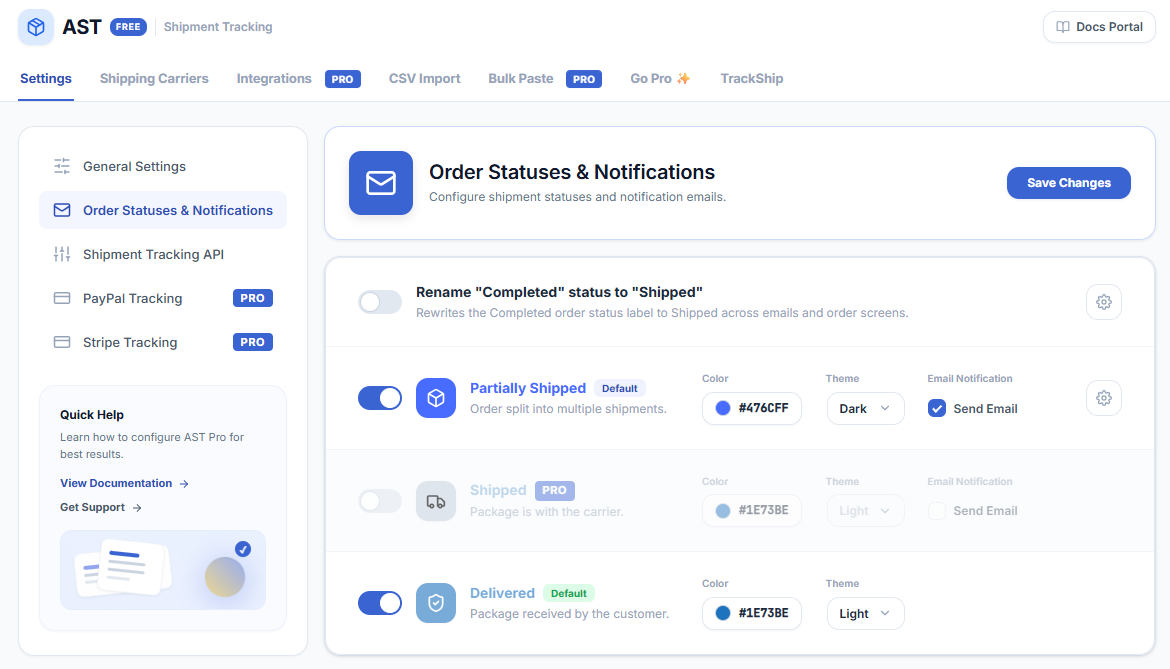
- Open the Order Statuses & Notifications panel.
- Click the gear icon on the row of the order status whose email you want to edit.
The customizer opens with two sections in the left sidebar — Tracking Widget and Email Content — and a live preview of the email on the right, so you can see each change as you make it.

Tracking Widget Customization
The tracking widget is what your customer actually looks at: the carrier, the tracking number, the shipment status and the button through to the carrier’s tracking page. It appears both in the order email and on the My Account order page, and the settings below control it in both places.
In the customizer sidebar, click Tracking Widget.

Widget options
| Setting | Description |
|---|---|
| Hide tracking header | Hides the “Tracking Information” title above the widget. |
| Tracking header text | Replaces the default “Tracking Information” title with your own wording. |
| Additional text after header | A short message shown under the header — useful for delivery expectations or a support line. |
| Display shipment status section | Shows the shipment status line, for example “Shipped on 12-03-2026”. |
| Tracker type | The visual style of the tracker: Progress bar, Icons or Single icon. All three are available in the free plugin. |
| Background and border colors | Match the widget to your brand. |
| Border radius | How rounded the widget corners are. |
| Hide shipping provider image | Hides the carrier logo, if you’d rather show the carrier name only. |
Tracking button styling
| Setting | Description |
|---|---|
| Button text | The call-to-action label. The default is “Track Order”. |
| Button size | Normal or Large. |
| Button color and font color | The button background and its text color. |
| Button radius | How rounded the button corners are. |
Email Content Customization
To change the wording of the email itself, click Email Content in the customizer sidebar.
Email content fields
| Field | Description |
|---|---|
| Email Subject | The subject line. Supports placeholders. |
| Email Heading | The heading shown at the top inside the email. Supports placeholders. |
| Email Content | Your message to the customer, shown above the tracking widget. Supports HTML and placeholders. |
Available placeholders
These placeholders can be used in the subject, heading and content fields. They’re replaced with the order’s own values when the email is sent.
| Placeholder | Replaced with |
|---|---|
{customer_first_name} | The customer’s first name. |
{customer_last_name} | The customer’s last name. |
{site_title} | Your store name. |
{order_number} | The order number. |
Next: Add Tracking To Orders.