You can easily remove any enabled shipping carriers from your list in the Shipping Carriers panel. This is useful when you stop using certain carriers or want to clean up unused ones.
🔧 How to Remove Shipping Carriers
There are two ways to remove shipping carriers:
✅ Method 1: Remove Selected Carriers
- Go to WooCommerce > Shipment Tracking > Shipping Carriers.
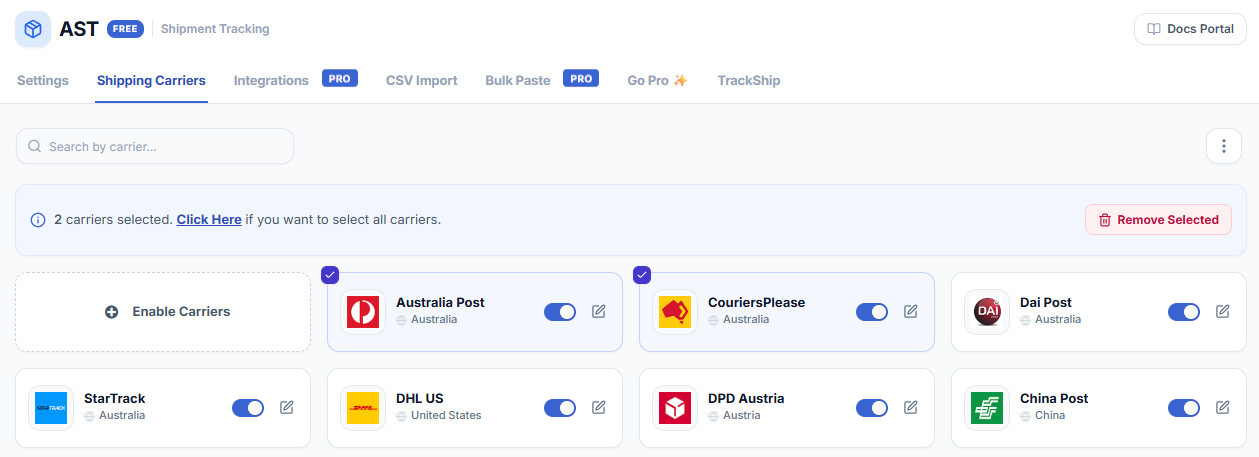
- Click the checkbox on each carrier you want to remove.
- Once one or more carriers are selected, a “Remove Selected” button will appear at the top.
- Click Remove Selected to remove the chosen carriers.
✅ Method 2: Remove All Carriers at Once
- Click the three-dot menu in the top right corner.
- Select “Select All” from the dropdown.
- All enabled carriers will be selected automatically.
- Click the “Remove Selected” button to remove them in bulk.
📝 Notes
- Only enabled carriers can be removed. You can always re-enable them later via the Enable Carriers button.
- Removed carriers will no longer be available when assigning tracking numbers in order fulfillment.