When you first install AST, no shipping carriers are enabled. Before you can add tracking numbers to orders, enable the carriers your store actually ships with — only enabled carriers appear in the dropdown on the add tracking form.
How to enable shipping carriers
- Go to WooCommerce > Shipment Tracking > Shipping Carriers.
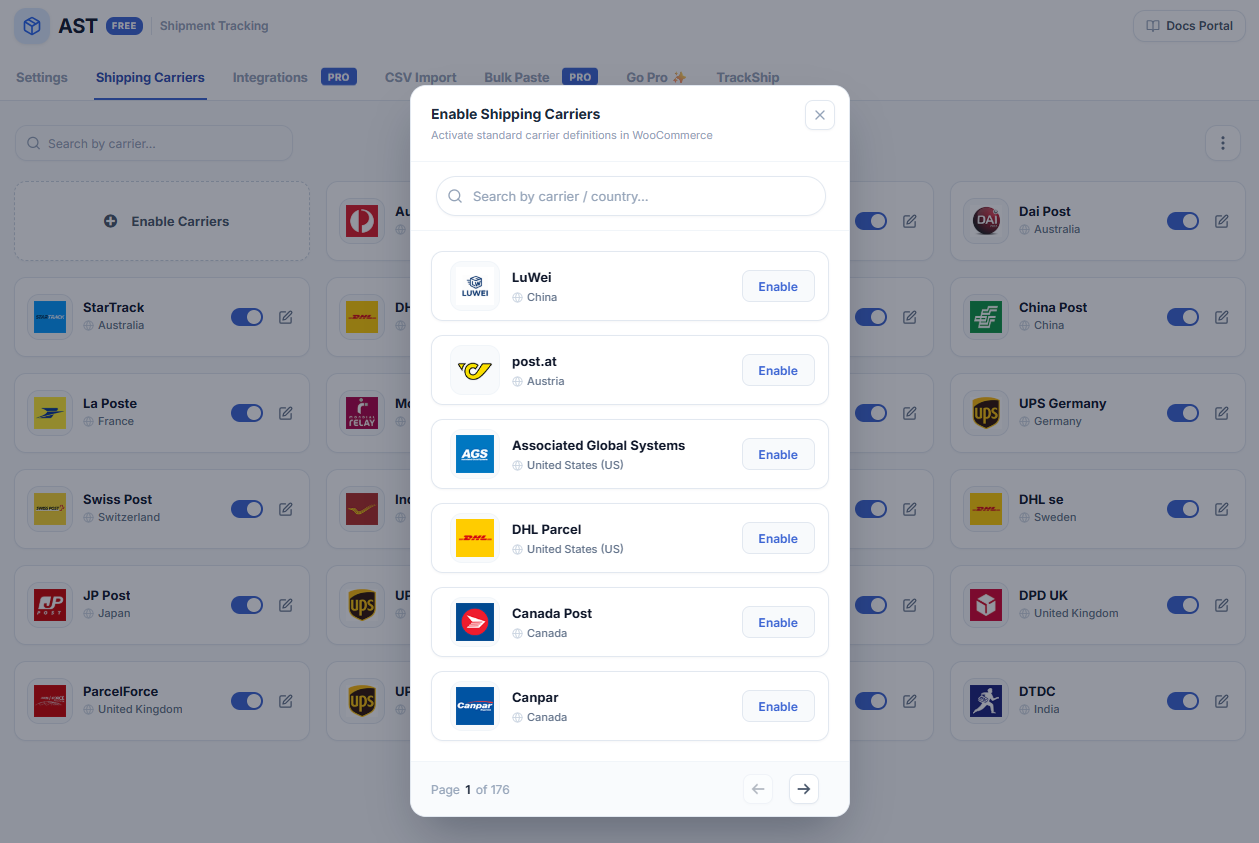
- Click Enable Carriers.
- A panel opens from the side with the full list of available carriers.
- Search for a carrier by name, or scroll the list to find it.
- Click Add next to each carrier you want to enable.
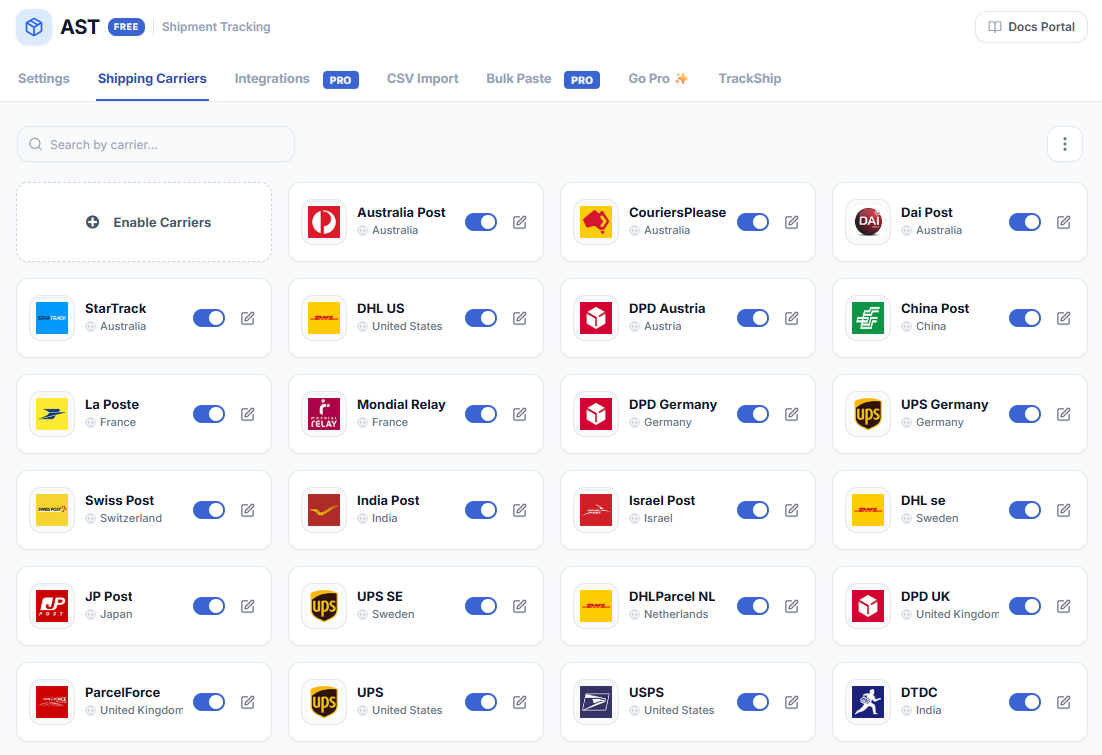
- The carriers you added now appear in your active carrier list and are available when you add tracking to an order.
Notes
- You can enable as many carriers as you need.
- Only enabled carriers appear in the dropdown when you add tracking to an order.
- You can come back to this screen at any time to add or remove carriers.
- Can’t find your carrier? Sync the carrier list first — new carriers are added regularly.
Next: Sync Shipping Carriers.