Email Reports for WooCommerce sends your store’s sales figures to your inbox on a schedule you choose. This page covers installing it, activating your license, and where to go next.
This article assumes WooCommerce is already installed. If it isn’t, see installing WooCommerce first.
Requirements
- A WooCommerce store with WooCommerce Analytics enabled. Every figure in your reports is read from the Analytics tables, so Analytics has to be running and its historical import finished — otherwise the numbers will look wrong.
- There is no free version to install first. Email Reports runs on its own.
- Works with WooCommerce High-Performance Order Storage (HPOS). The plugin declares HPOS compatibility, so it runs whether your store keeps orders in the legacy tables or the HPOS tables.
Installing the plugin
- Download the plugin
.zipfile from the subscriptions tab in your account on zorem.com. - In your WordPress admin, go to Plugins > Add New and click Upload Plugin at the top of the screen.
- Choose the zip file you downloaded and click Install Now.
- When the installation finishes, click Activate Plugin.
- You’ll find the plugin under WooCommerce > Email Reports.
Activating your license
Your license has to be active for reports to be scheduled and sent. Until it is, the plugin shows a notice that the cron is set but not running.
- Go to WooCommerce > Email Reports > License.
- Click Activate License. You’re taken to zorem.com to connect your store.

- Confirm the connection on your zorem.com account page.
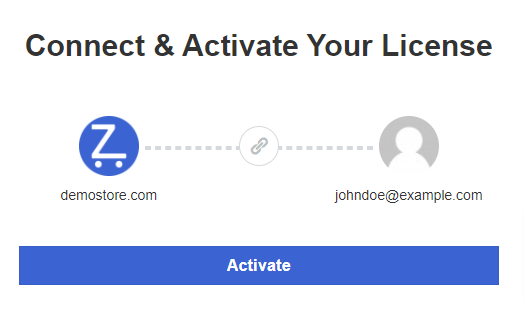
- You’re returned to your store with the license active.

Next: build your first report.