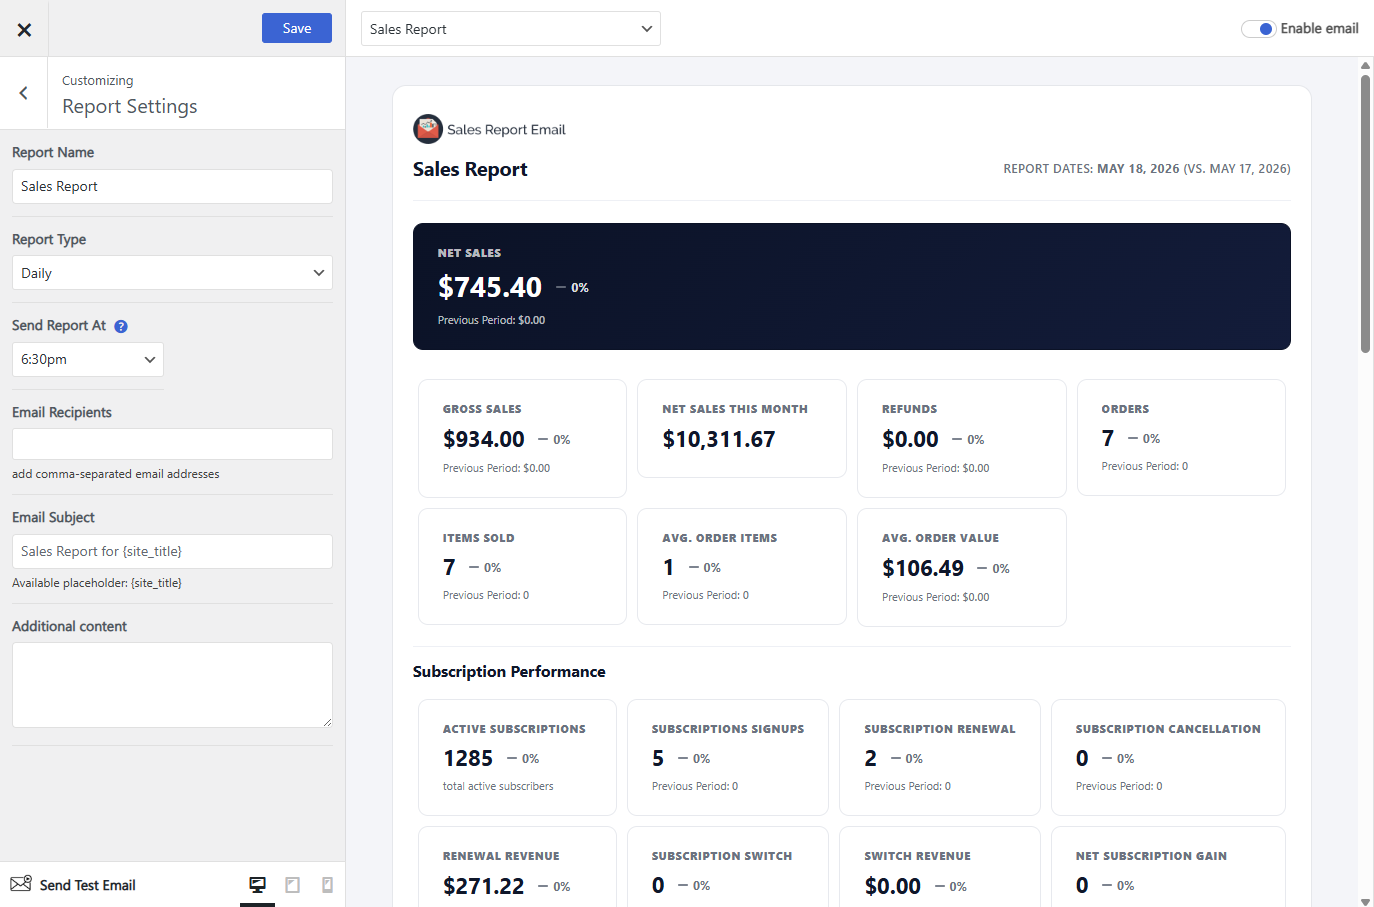
The Report Settings panel covers the email itself — who it goes to, what the subject says, and anything you want to add above the figures.
| Setting | What it does |
|---|---|
| Report Title | The name of this report. Used to identify it in the reports list, not shown to recipients. |
| Enable Email | Turns sending on or off. Leave it off while you are still setting the report up. |
| Email Recipients | Who receives the report. Enter one or more email addresses, separated by commas. |
| Email Subject | The subject line of the email. |
| Additional Content | A message added above the report figures — a note for the team, a link to your dashboard, a reminder of what the report covers. |
Additional Content
HTML is allowed. Links, bold, italics, lists and the other tags WordPress permits in post content all work, so you can format the note properly rather than sending a bare line of text. Scripts and unsafe tags are stripped.
One placeholder is supported:
| Placeholder | Replaced with |
|---|---|
{site_title} | Your store name, as set in Settings > General. |
Making sure reports arrive
Reports are sent with WordPress’s built-in wp_mail function. By default that hands the message to your web server’s mail program, which is the single most common reason reports are generated but never land — server mail is frequently unauthenticated, so Gmail, Outlook and most business mail providers drop it or file it as spam.
If a report doesn’t arrive:
- Check the spam or junk folder first.
- Send a test report to confirm the report itself generates and sends.
- Install an SMTP plugin and send through a real mail service — your own Google Workspace or Microsoft 365 account, or a transactional provider. This fixes most delivery problems outright.
- Use a From address on your own domain. A From address at a domain you do not control will fail SPF and DMARC checks.
- If the test arrives but the scheduled report does not, the problem is scheduling rather than delivery — see Report Schedule.
Next: Report Totals.