The Email Report Builder is where you create and manage your reports. Go to WooCommerce > Email Reports and you’ll see every report you’ve scheduled, with switches to enable or disable each one, and buttons to edit or delete it.
You can run as many reports as you like side by side — a daily one to your own inbox, a weekly summary to the whole team, a monthly one to your accountant — each with its own schedule, content and recipients.
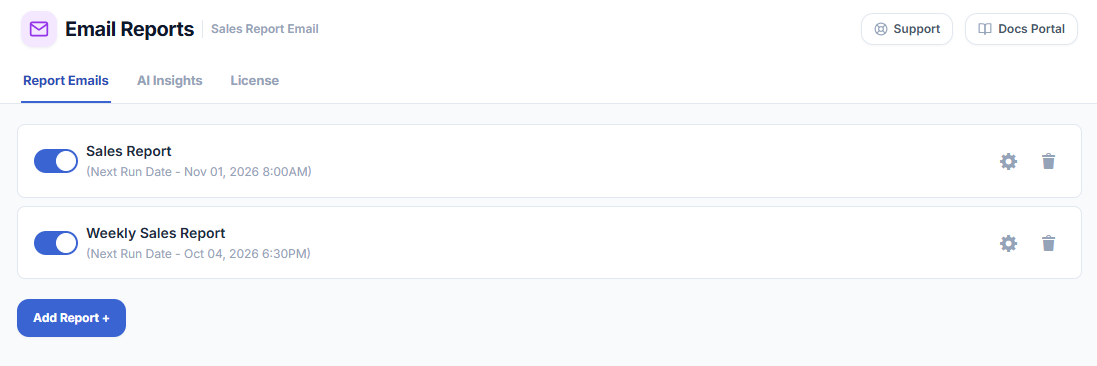
Adding a report
- Go to WooCommerce > Email Reports.
- Click Add Report.
- Work through the panels below — at minimum set a schedule and the recipients.
- Send yourself a test before you enable it.
- Enable the report in the list.
To change an existing report, click Edit on its row in the list.
The report panels
| Panel | What it controls |
|---|---|
| Report Schedule | When the report is sent and which period of data it covers. |
| Report Design | Your logo, colors and the layout of the email. |
| Report Settings | Subject line, recipients and any additional content. |
| Report Totals | Which figures appear in the totals block, and whether they are compared to the previous period. |
| Report Details | The detail tables under the totals — top selling products, order details, refunds, downloads and the breakdowns. |
| Send Test Report | Send yourself a copy to check before going live. |
Next: Report Schedule.