Requirements
- WordPress installed and running
- WooCommerce installed and active
- A MaxMind GeoLite2 API key configured in WooCommerce (required for IP-based country detection)
Important
WooCommerce GeoLocation requires a free MaxMind GeoLite2 licence key to detect visitor countries by IP. Go to WooCommerce → Settings → Integration → MaxMind Geolocation and enter your key. Without it, geolocation will not work for guest visitors or customers without a saved shipping address.
How to Install the Plugin (Method 1: From WordPress Admin Search)
This is the easiest method — no file download needed.
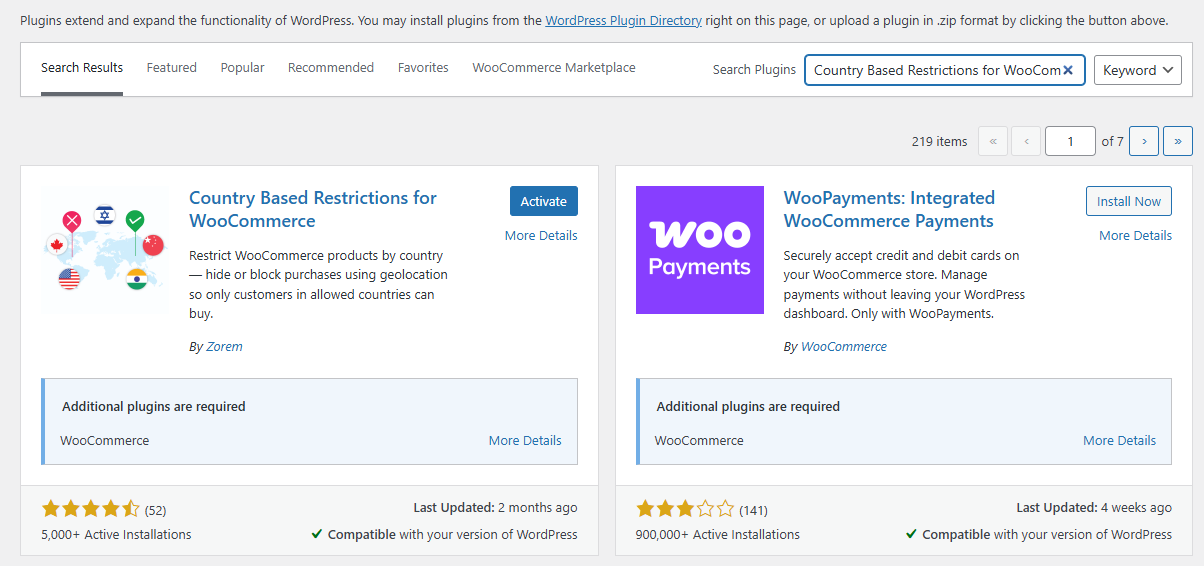
WordPress Admin → Plugins → Add New Plugin- In your WordPress admin, go to Plugins → Add New Plugin.
- In the search field, type: Country Based Restrictions
- Find the plugin called “Country Based Restrictions for WooCommerce” by Zorem in the search results.
- Click Install Now.
- Once installed, click Activate.
- After activation, navigate to WooCommerce → Country Restrictions to access all settings.
How to Install the Plugin (Method 2: From a .zip File)
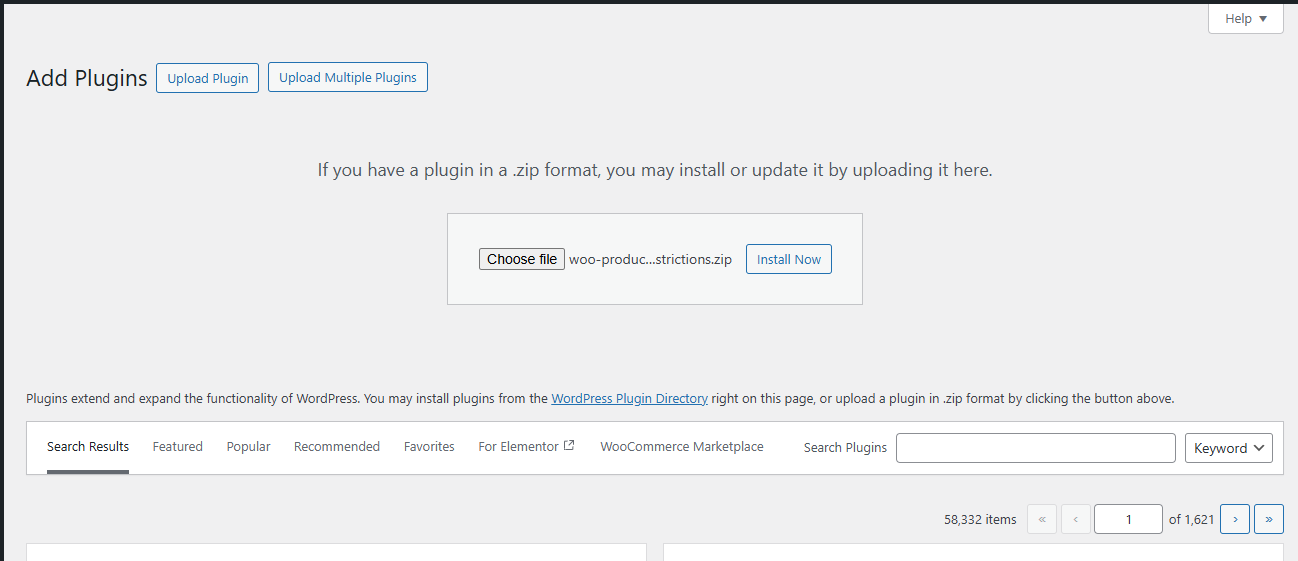
WordPress Admin → Plugins → Add New Plugin → Upload Plugin- Download the plugin .zip file from wordpress.org/plugins/woo-product-country-base-restrictions/.
- In your WordPress admin, go to Plugins → Add New Plugin.
- Click Upload Plugin at the top of the page.
- Click Choose File and select the downloaded .zip file.
- Click Install Now, then click Activate Plugin.
How to Access the Plugin Settings
Once activated, all settings are accessible from a single location:
WooCommerce → Country RestrictionsYou will find two main sections inside the Country Restrictions settings screen:
- Catalog Visibility Settings — choose how restricted products are displayed or hidden for customers from restricted countries
- Restriction Settings — configure Force Geolocation, the Debug Toolbar, the restriction message text, and message position
