- Open the Pickup Location tab — Navigate to WooCommerce → Local Pickup and click the Pickup Location tab.
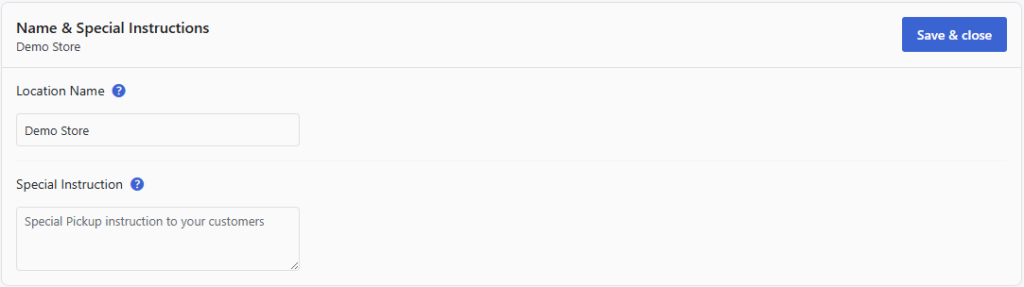
- Enter the Location Name — Type the public-facing name for your pickup point (e.g. “Main Street Store” or “Warehouse — Unit 4”). This name is shown to customers at checkout and in emails.
- Enter Special Instructions — Use the Special Instructions field to tell customers anything they need to know when arriving for pickup. Good examples include: “Bring a copy of your order confirmation email”, “Enter via the side gate on Oak Street”, or “Call ahead 10 minutes before arriving”.
- Save your changes — Scroll to the bottom and click Save Changes.
TIP
Special instructions appear in the Ready for Pickup email and on the Order Received page, so customers always have them handy when they are on their way to collect.